Say Hello! 👋
Registering as an organisation tutor

If you work with an organisation that uses Bramble, they will send you an invite to register an account with them.
1) Receive Invite
The organisation you are working with will send you an invite from their Tutors page. This invite will let you create an account and register a room with the organisation. You can be registered with multiple organisations and as an independent tutor at the same time.
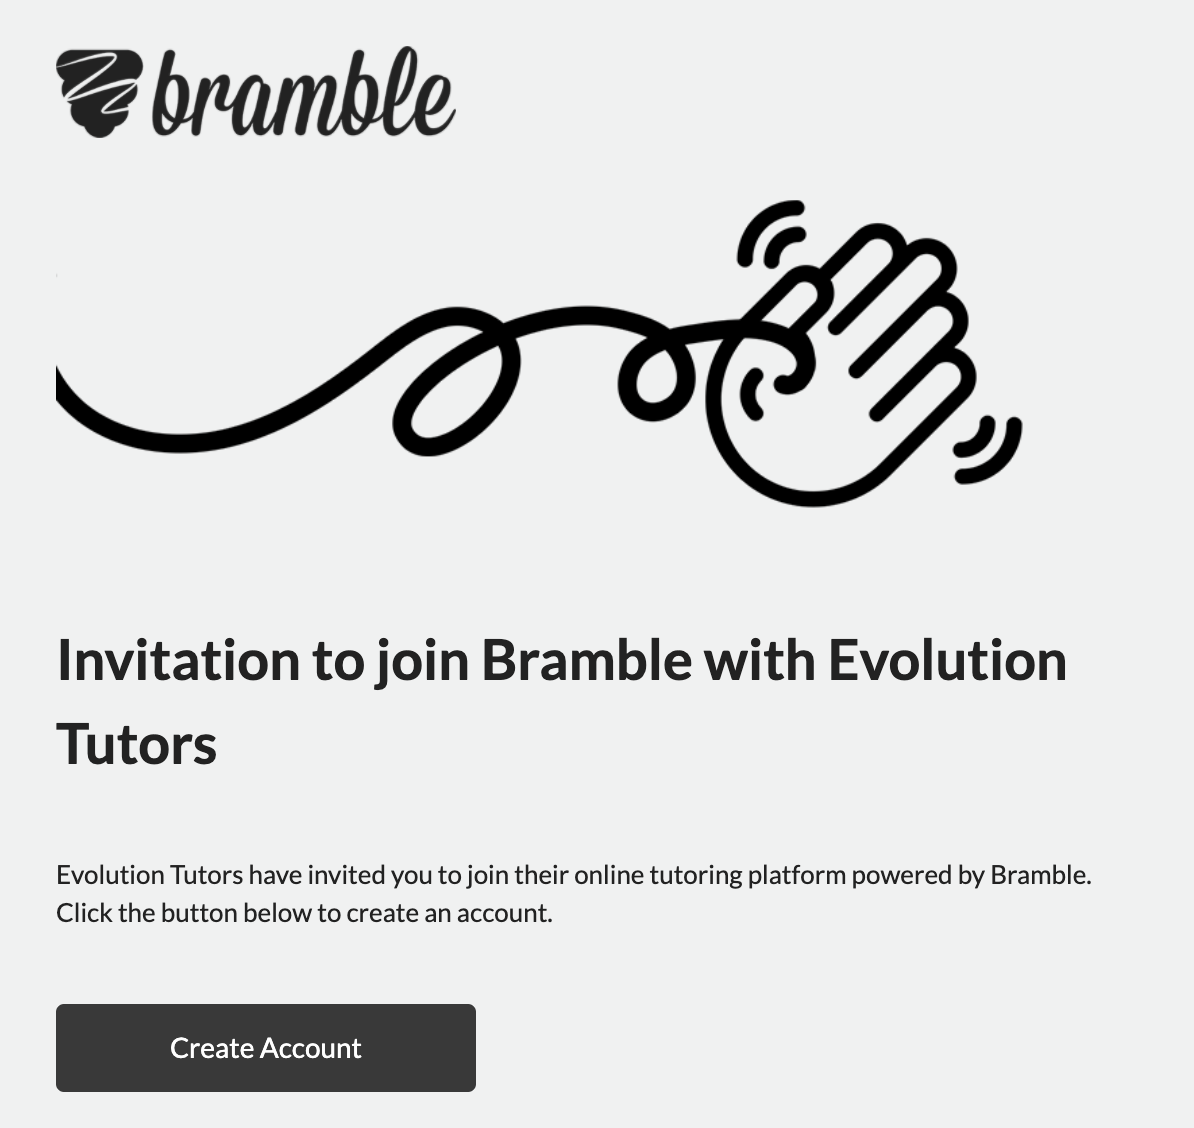
The organisation you're working with will send you an email inviting you to register with them.
2) Create Account
When you follow the link in the invite you receive, you will be taken to the registration page to set up your account.
3) Create Your Room
After choosing your plan, you will be taken to your Rooms page where you can create a room. A room is where your live tutoring will take place. It is a link that you share with your students to have them join you for a session. You can choose to just use one room and share it with all your students or you can create a room for each student. You can learn more about rooms here.
We recommend naming the room after yourself or your student. It should be all one word, without any numbers or special characters. We will add a randomly generated pin code to the end of your room name so the link can't be guessed by someone you haven't shared it with.
4) Prepare For Your First Session
We've tried to make Bramble really easy to use, so it shouldn't take you long to get familiar with how it works. Nevertheless, we'd recommend reading this article on preparing for your first session and watching the walkthrough video below.
The walkthrough video covers the basics you need to know before your first session.
5) Starting Your First Session
Once you're familiar with how Bramble works, you're ready to start your first session with a student. To do that, simply send them a link to the room the session will be taking place in. You can find all your room links on your Rooms page. Check with your organisation before sending a link out to a student, as they may prefer to send the link themselves.
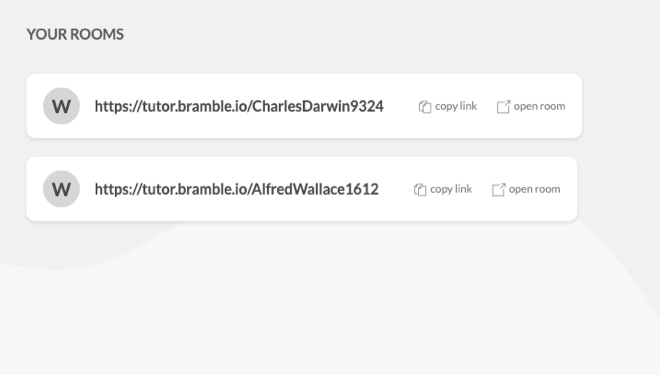
Copy a room link and send it to your student to start a session.
6) Linking Your Current Bramble Account to an Organisation
If you already have a Bramble account for your independent use but would also like to link it to an organisation, this can be easily done.
Once you have received the invite from your organisation, click on the link attached. You will automatically be taken to your current account where you'll need to log out and in again.
Head to your Rooms page and you will see the option to Create a New Room. Select this and you should see two options in the drop down bar: creating a personal room or creating a room under your organisation. Make sure you use your organisation room links to tutor all your organisation clients going forward.
7) Learn More About Online Tutoring
The above guide should tell you everything you need to get started but we'd also recommend taking some time to learn more about online tutoring in general. This will help you to articulate the benefits it brings and better answer questions. The best place to learn more is our blog, which covers everything from the benefits of online tutoring for tutors and students to the best equipment to use.